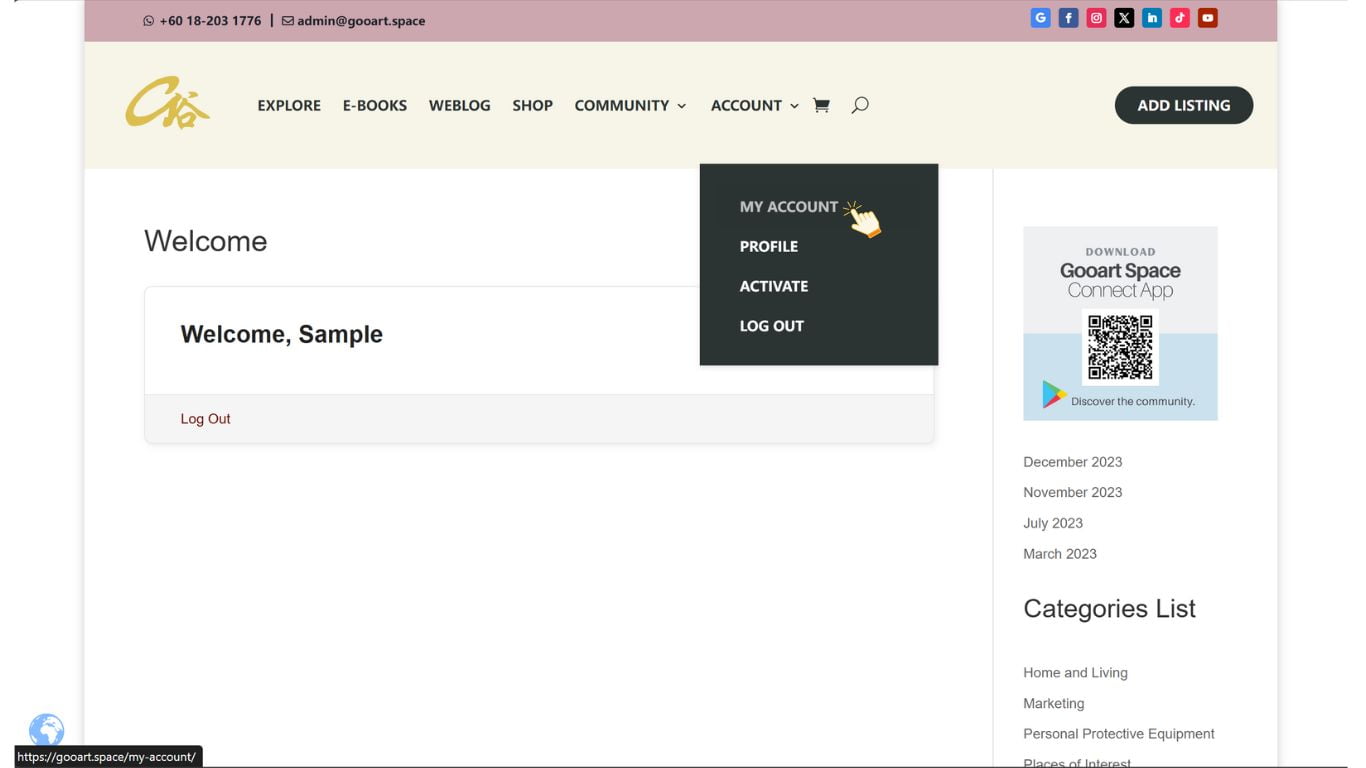
1. Register and Log In: Create a user account and log in. Please navigate to the top right main menu and select Account > My Account.
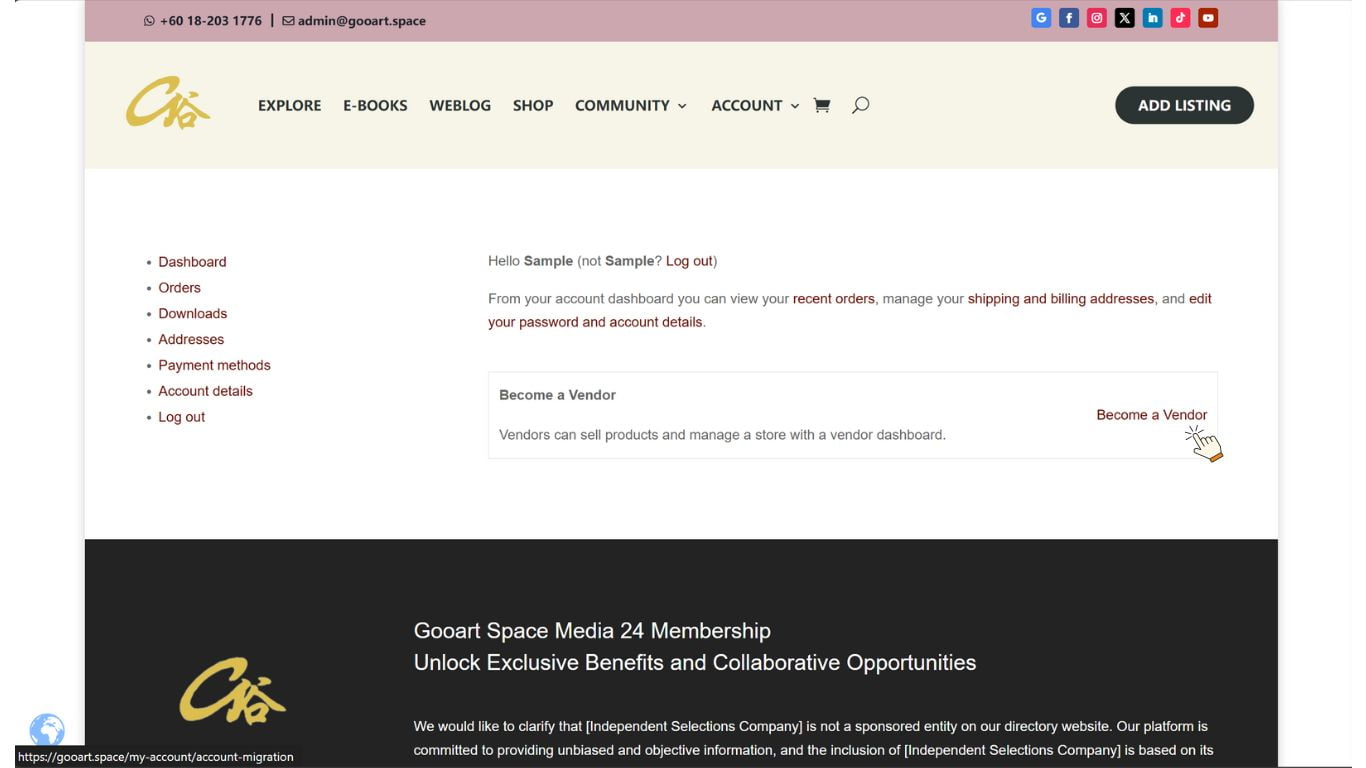
2. Become a Vendor: Click the “Become a Vendor” button.
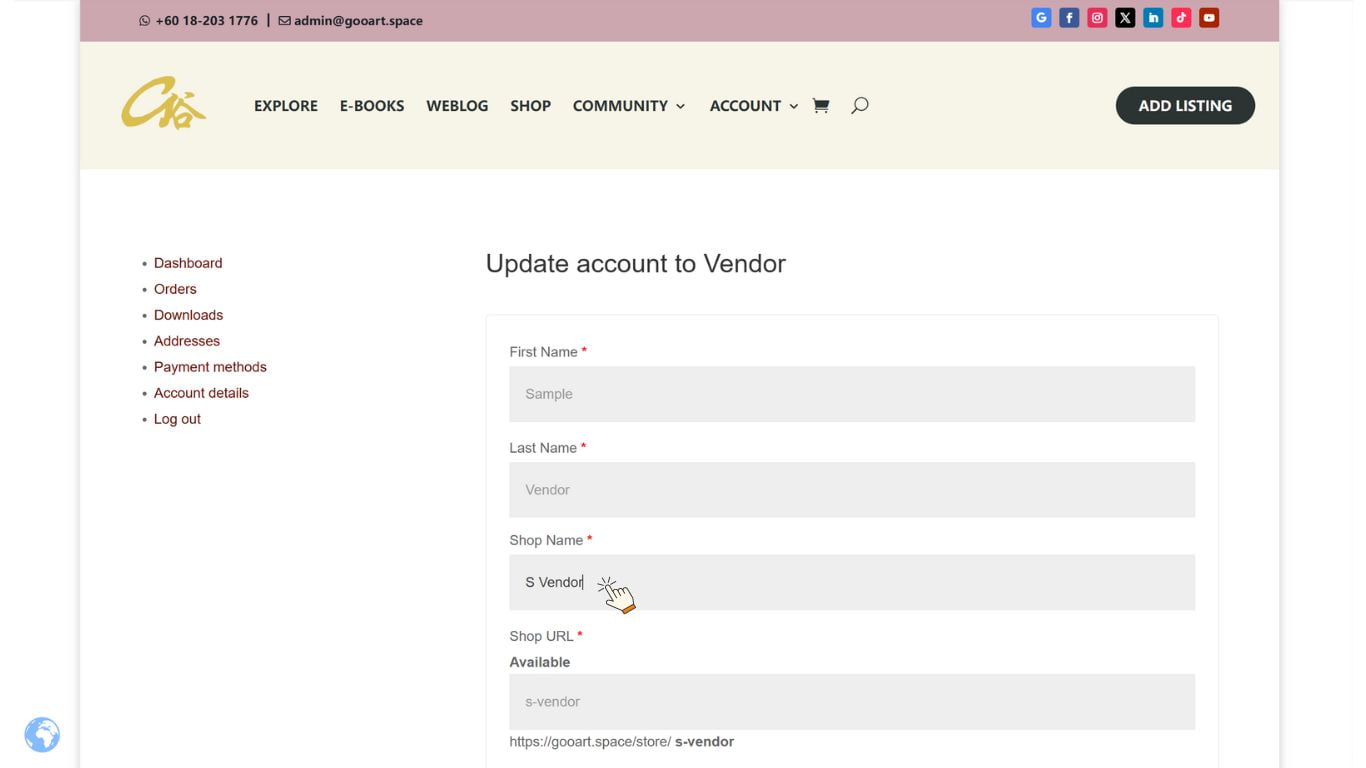
3. Update Account: Fill out the “Update account to Vendor” form.
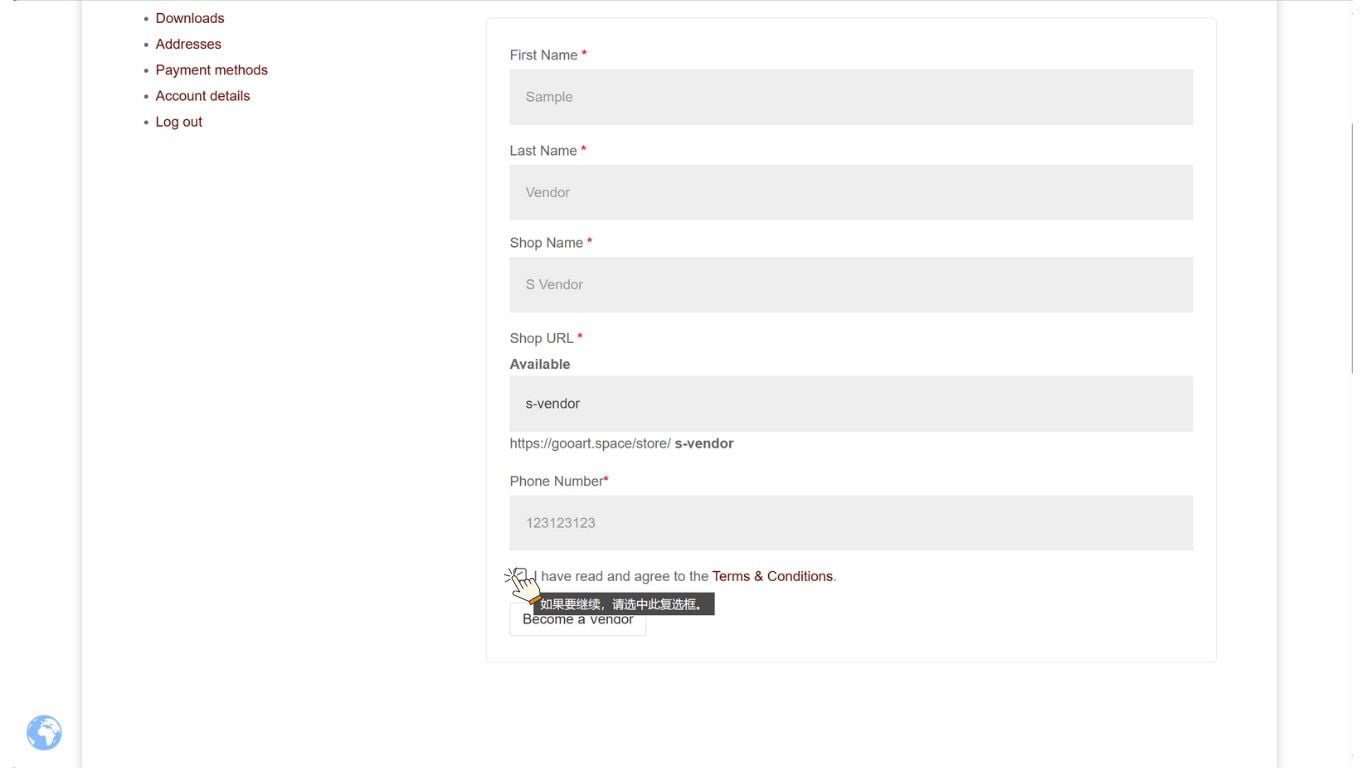
4. Accept Terms: Read and accept the Terms and Conditions, then click the “Become a Vendor” button.
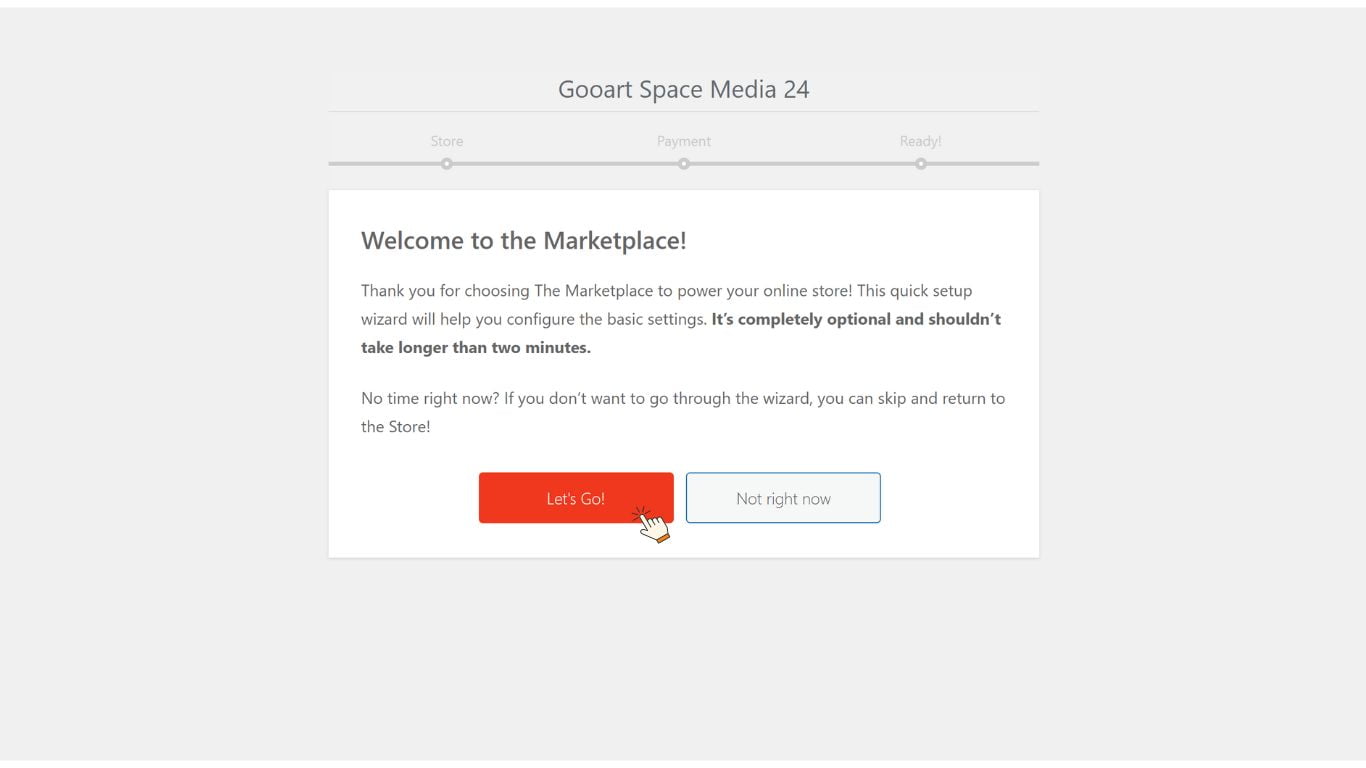
5. Marketplace Setup: A quick setup wizard for the Marketplace will appear.
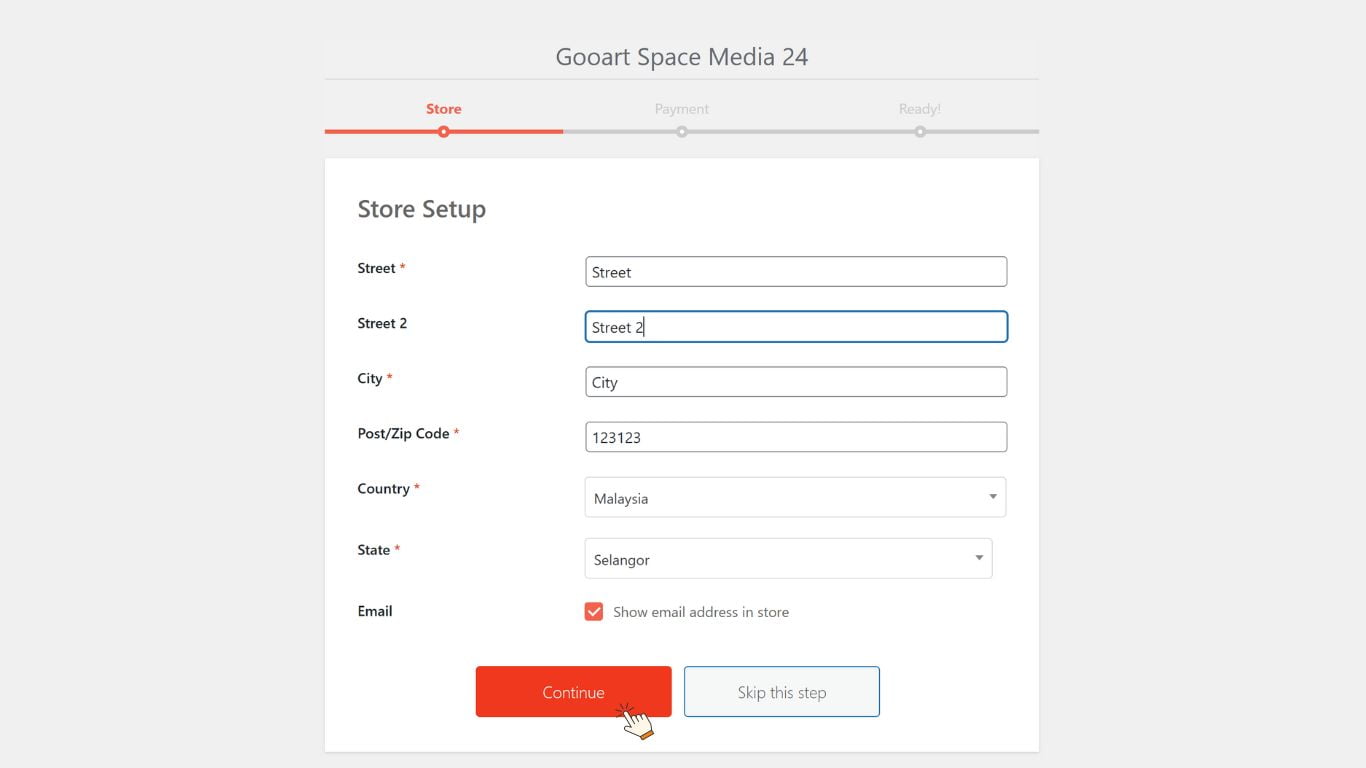
6. Store Setup: Complete the “Store Setup” form and click the “Continue” button.
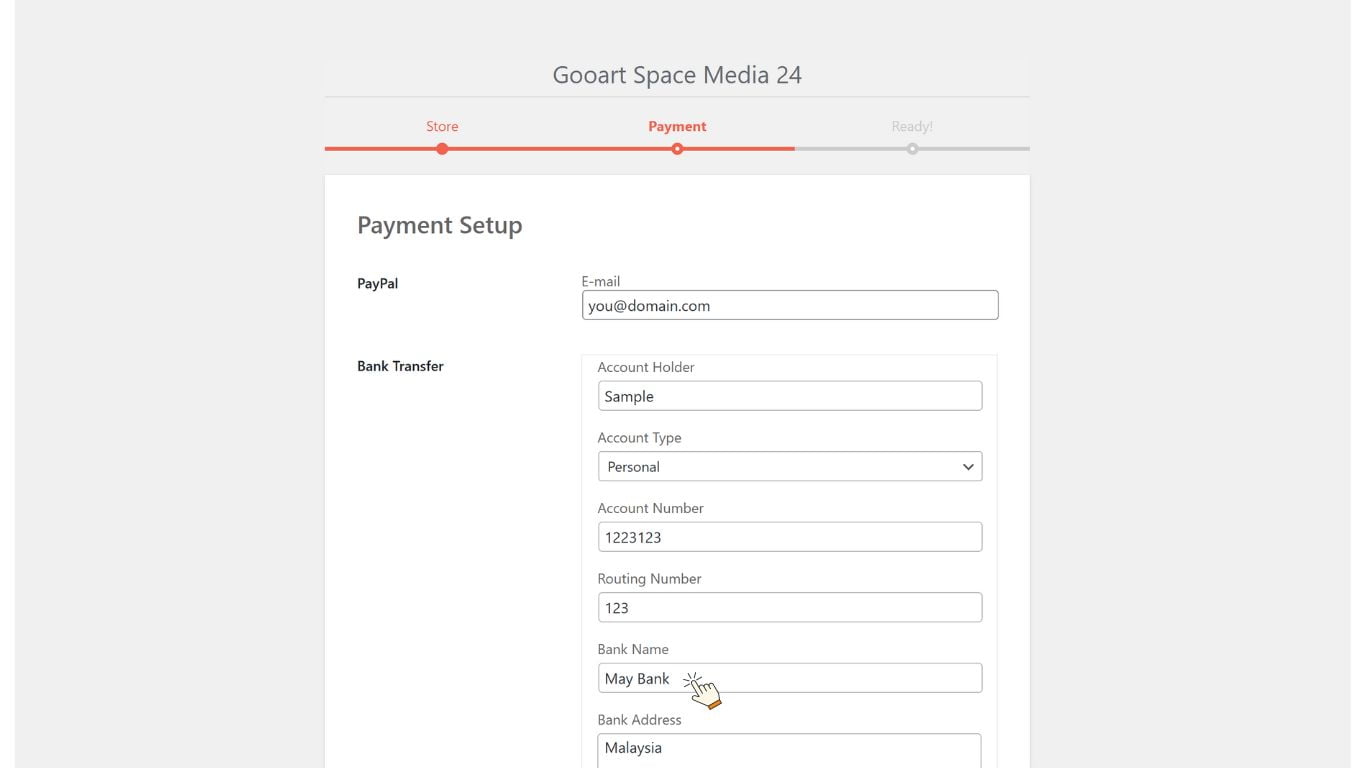
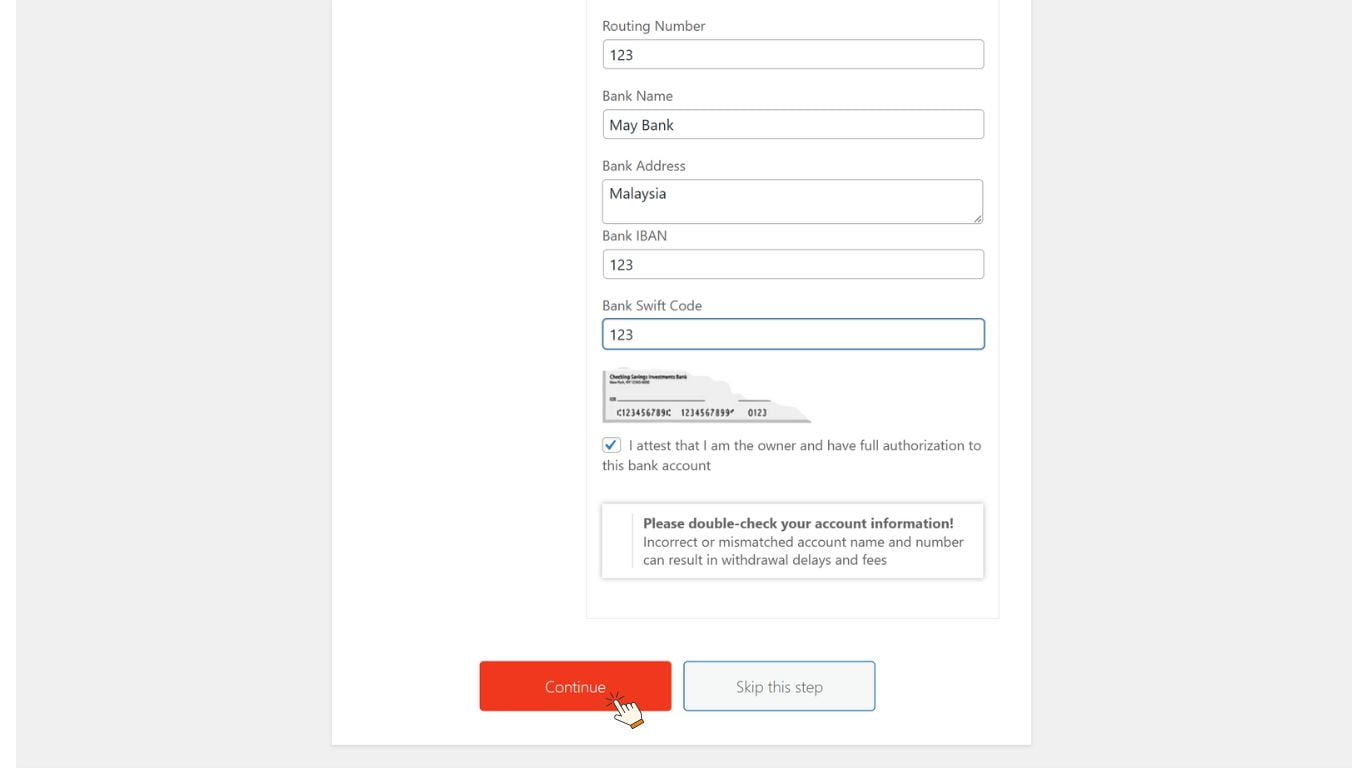
7. Payment Setup: Fill out the “Payment Setup” form and click the “Continue” button.
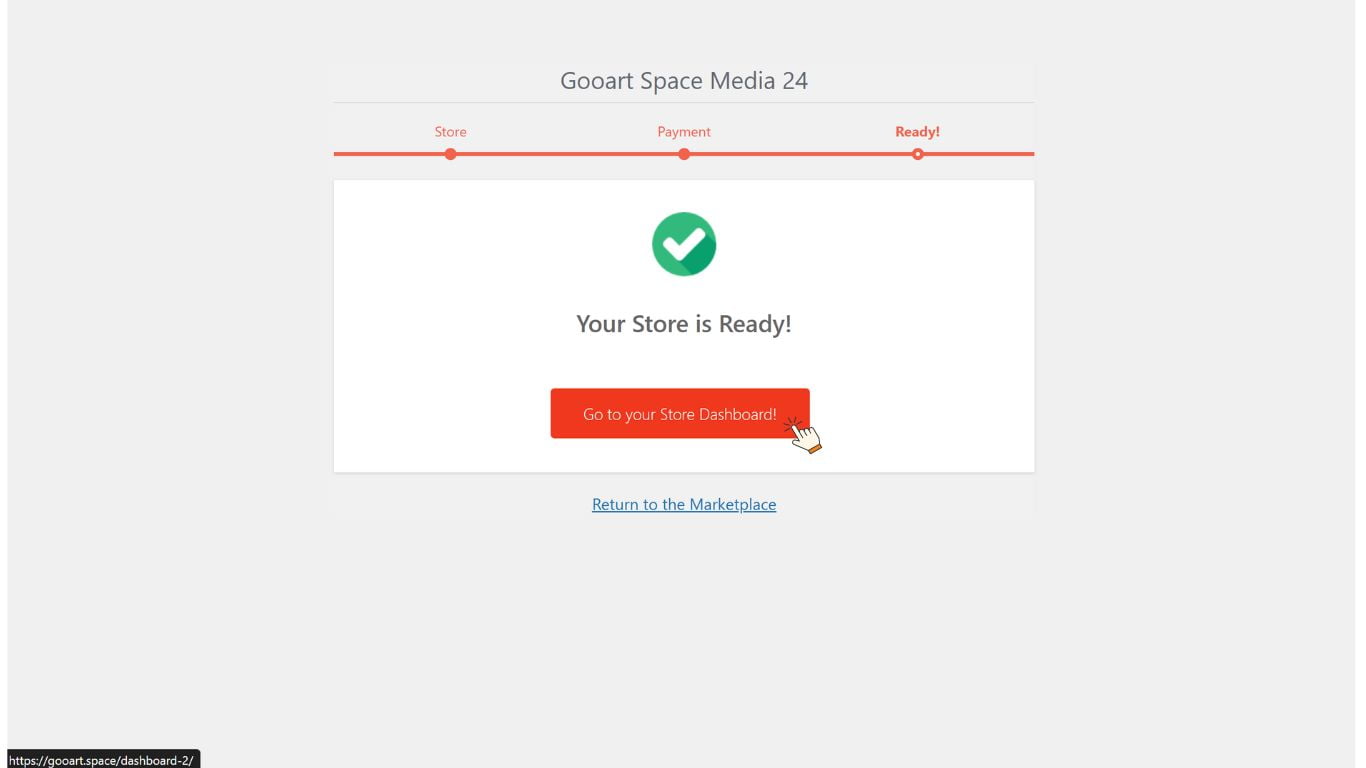
8. Store Ready: Your store is now ready! Click the “Go to your Store Dashboard!” button.
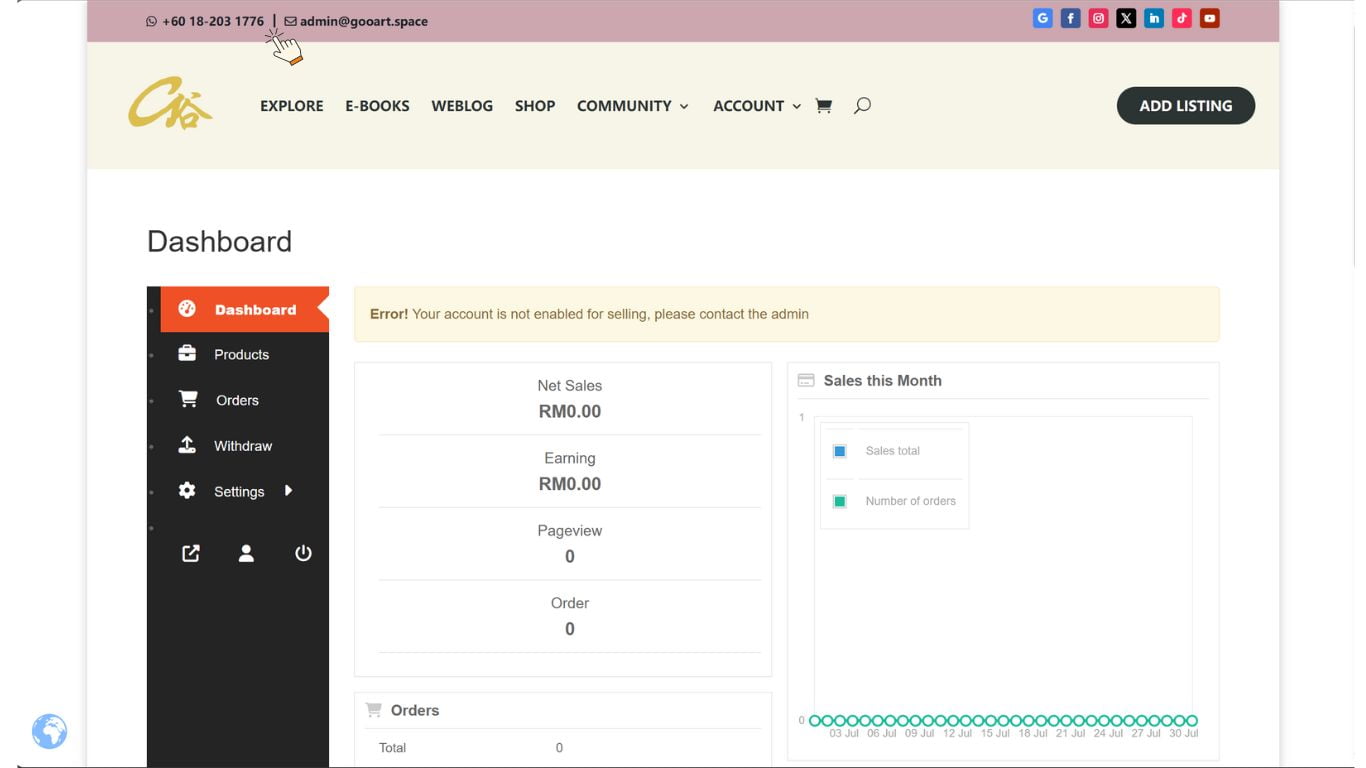
9. Admin Contact: Contact the admin if you want your account enabled to sell quickly.
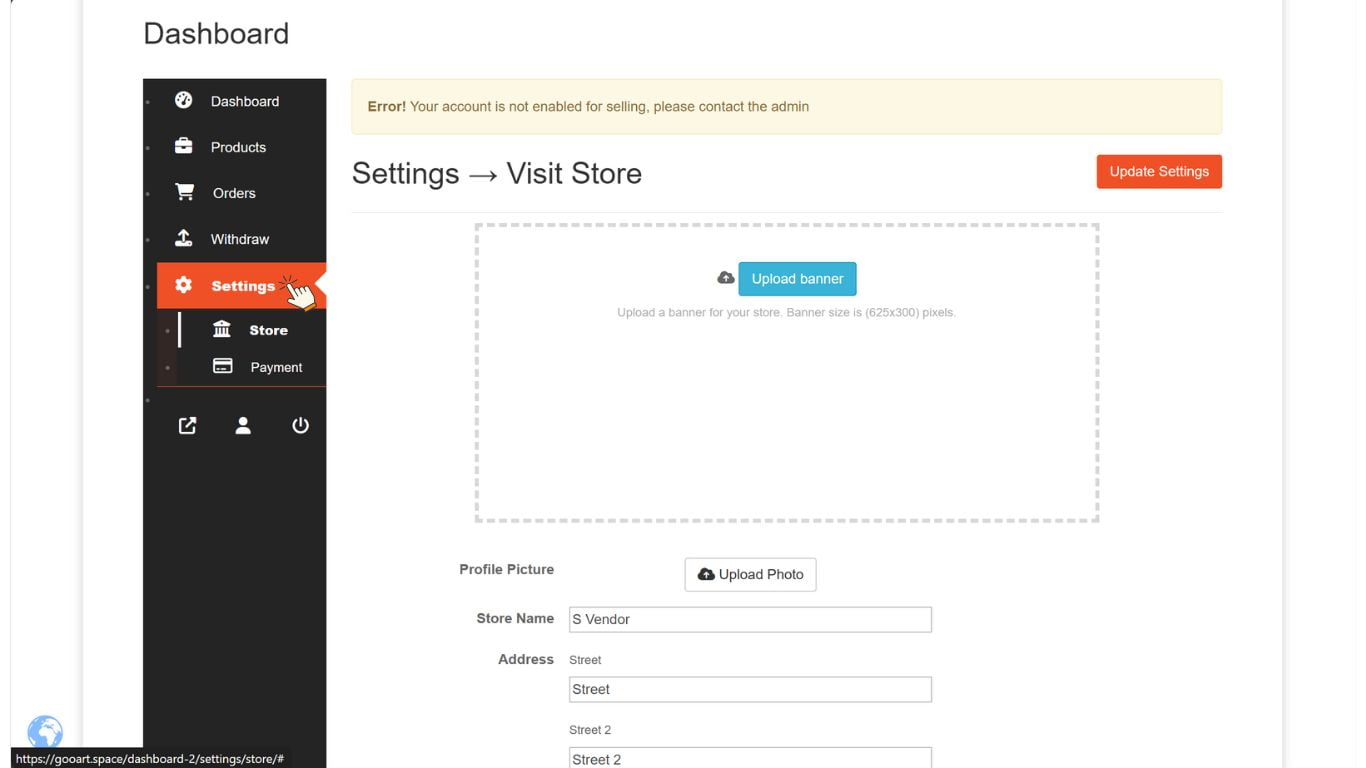
10. Store Settings: Go to Settings > Store to amend your store details.
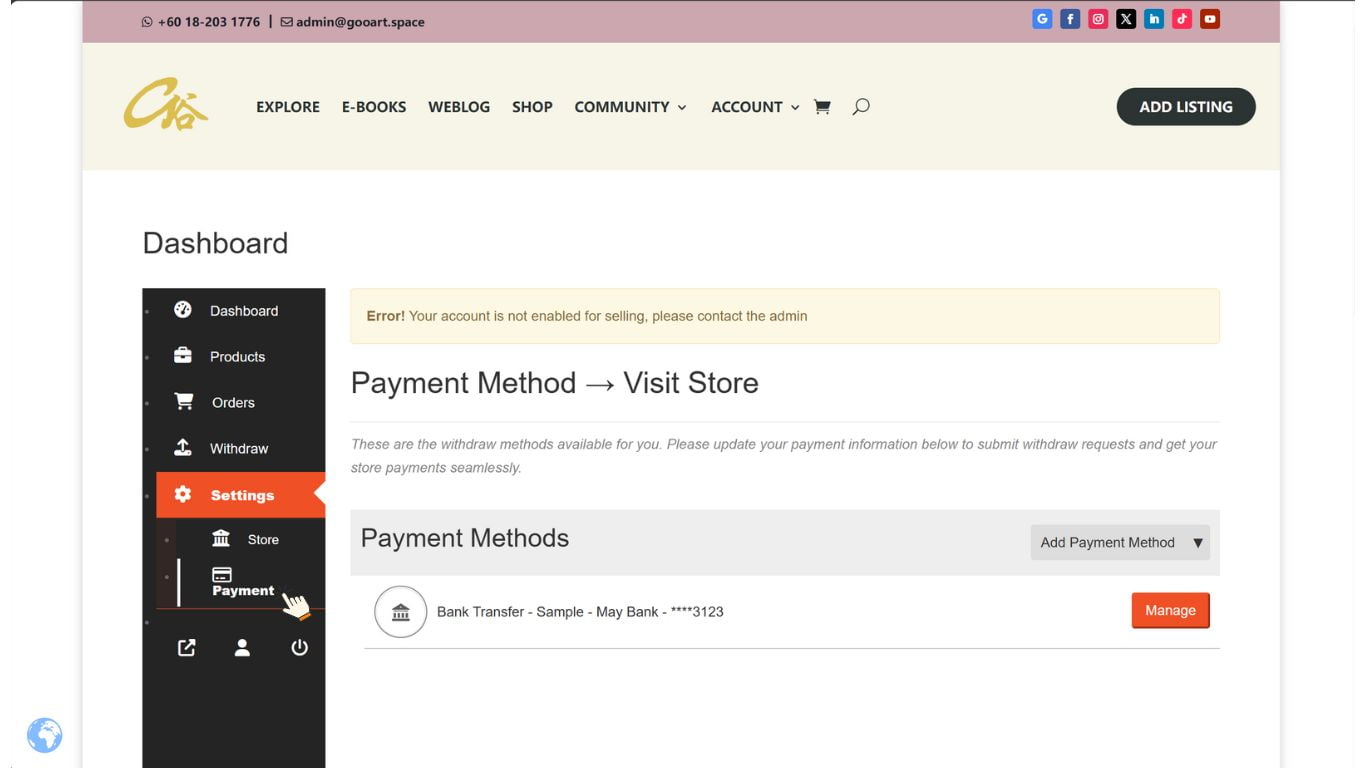
11. Payment Settings: Go to Settings > Payment to check and amend your payment method details.
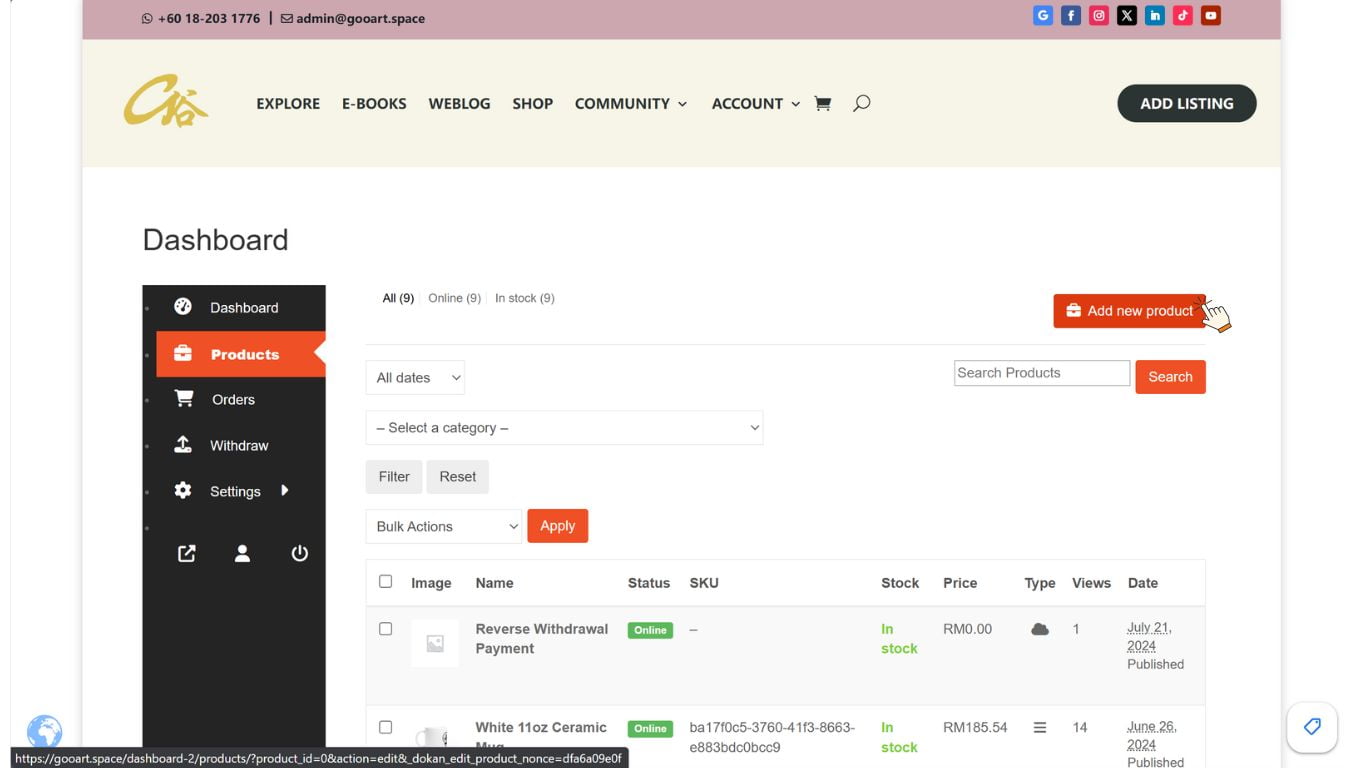
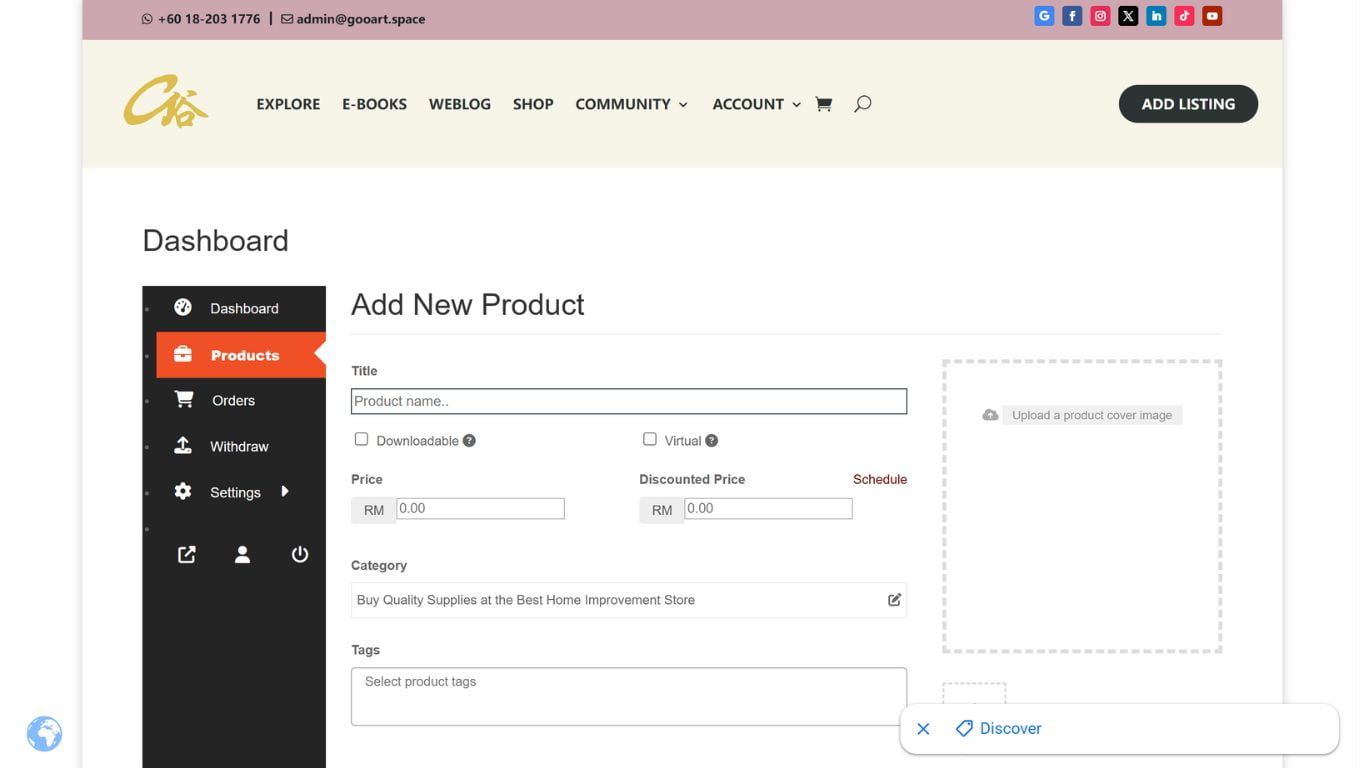
12. Add Products: Once your account is enabled for selling, go to Products and click the “Add New Product” button.
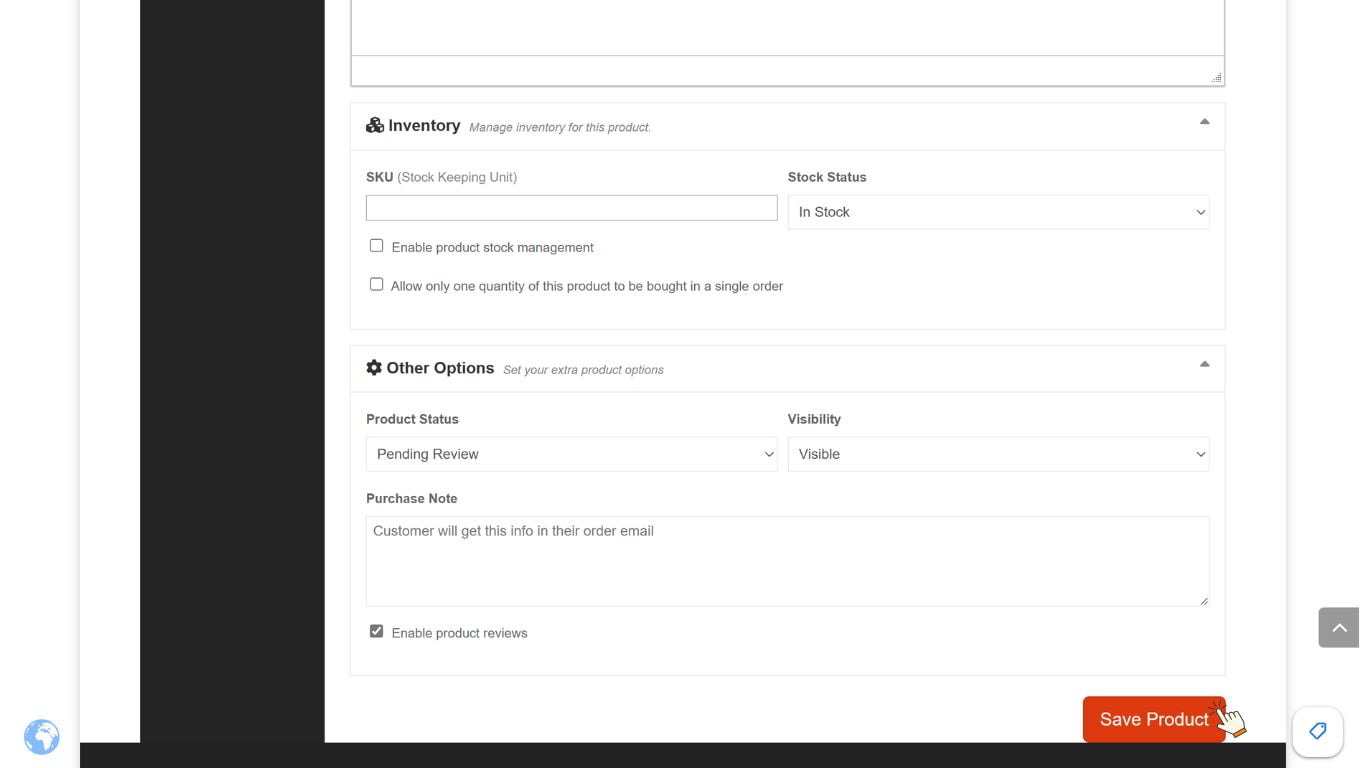
13. Product Details: Fill in the details for your product.
14. Save Product: After completing the details, click the “Save Product” button.

